What is the Prism Control Model™?
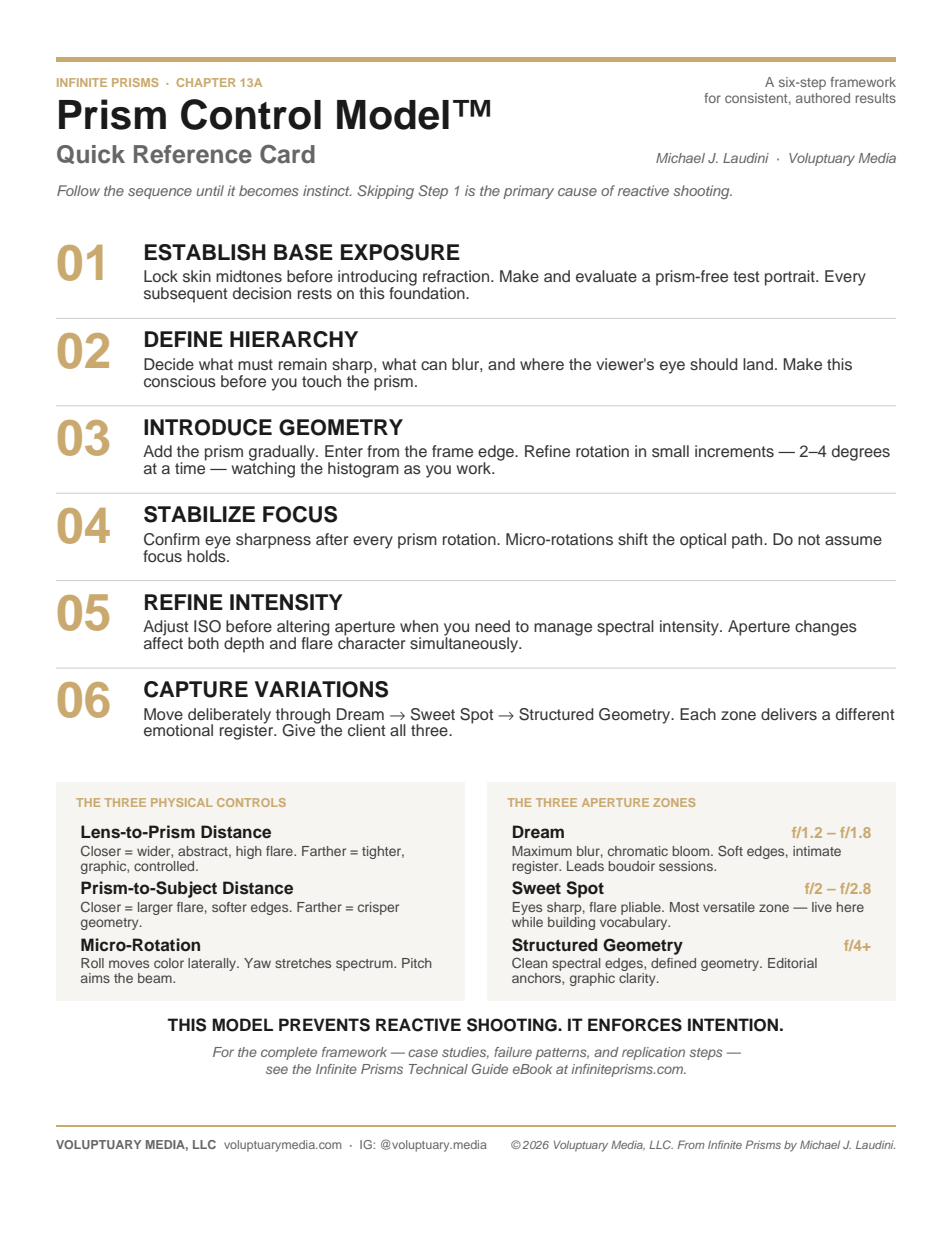
The Prism Control Model™ is a six-step framework for prism photography, created by photographer Michael J. Laudini. It turns shooting through a handheld prism from trial and error into a repeatable sequence: set the exposure first, decide what matters in the frame, then bring the glass in slowly and in control.
Most prism photos that work were authored; the rest were lucky. Michael built the model over two years of shooting boudoir and fine art portraits through handheld glass, to take the luck out. It's the framework at the center of his book Infinite Prisms: A Technical Guide to Intentional Refraction in Boudoir Photography.
How the model works
- Establish base exposure. Get skin midtones right before glass touches the frame. Skipping this is the number one cause of prism shots that fall apart in post.
- Define hierarchy. Choose what stays sharp, what blurs and where the eye lands, consciously, before the prism is in your hand.
- Introduce geometry. Enter from the frame edge and refine in micro-rotations of two to four degrees. Read the histogram, not the glow on the LCD.
- Stabilize focus. Every micro-rotation shifts the optical path. Don't assume the focus point is still where you left it.
- Refine intensity. Aperture changes depth and flare character at the same time. ISO is the cleaner dial when you only want to manage brightness.
- Capture variations. Move deliberately through the three aperture zones: Dream, Sweet Spot and Structured Geometry. Each gives a different emotional register. Give the client all three.
The three physical controls
- Lens-to-prism distance. Closer gives wider, more abstract flare with higher intensity; farther gives tighter, more graphic, more controlled effects.
- Prism-to-subject distance. Closer gives larger flare with softer edges; farther gives crisper geometry.
- Micro-rotation. Rolling the prism moves color sideways, yaw stretches the spectrum, and pitch aims the beam.
The three aperture zones
- Dream (f/1.2 to f/1.8). Maximum blur and chromatic bloom with soft edges. An intimate register that suits boudoir sessions.
- Sweet Spot (f/2 to f/2.8). Eyes sharp, flare still pliable. The most versatile zone and the one to live in while building the vocabulary.
- Structured Geometry (f/4 and up). Clean spectral edges and defined geometry, for editorial anchors and graphic clarity.
The Prism Lexicon
Alongside the model, Michael published The Prism Lexicon, a free 16-page companion that names twelve refraction effects and maps each one to how it's shot. Together they give photographers a shared vocabulary for prism work instead of "that rainbow thing."
Quick answers
Who created the Prism Control Model?
Michael J. Laudini, a Los Angeles photographer with more than thirty years of experience in fine art, boudoir and editorial portraiture.
Is it a filter, preset or app?
No. It's a shooting method for real glass prisms held in front of the lens. Every effect happens in-camera.
Is it only for boudoir?
No. It was developed shooting boudoir, but the same steps apply to portraits, weddings, editorial and product work.
Where can I learn the full model?
The Infinite Prisms Technical Guide covers it in full across 17 chapters. For the basics, start with the free prism photography guide.
Infinite Prisms: the Technical Guide
The complete Prism Control Model™ in 17 chapters, paired with a 66-page portfolio shot entirely through handheld glass.